
Welcome to Episode 5. As always, if you missed a previous episode please feel free to rewind back to Episode 4.
Okay so maybe I was being optimistic when I thought that as soon as we received our Airhead Composting Toilet it would just be a case of installing and away we go! As Nick always tells me about every job he does, ‘preparation is the key!’
When we purchased the toilets we had to decide what sort of fan housing options we required, angled to go through the wall or straight to go through the ceiling or the floor.
The overlander was easy, with an angled vent to go through the wall possibly where we were removing an outside shower from. The boat had what appeared to be an old vent in the ceiling but it was inside a cupboard directly behind the toilet. After a bit of discussion, we still decided this was the easiest option and meant that Nick wouldn’t have to make any new holes in the ceiling – holes always mean potential water ingress if not properly sealed – so we ordered a straight fan housing.
Once the toilets arrived it was time to look more closely at what preparation was required on the boat.
● Hole to be made behind the toilet for the hose to pass into the cupboard.
● Hole to be made in the bottom shelf for the hose – the two other shelves already had holes at one side AND they were the right size for the hose!
● First problem discovered – the hose supplied was only 1.5meters and not quite long enough to reach the ceiling. BUT we only needed a short hose for the overlander so we could use some of that! A quick call to our supplier and we discovered a joiner was available in the form of a Threaded Bug Screen Cuff – phew at least that was an easy order.
● We needed to remove the current cover over the hole in the roof to discover exactly what was underneath…..
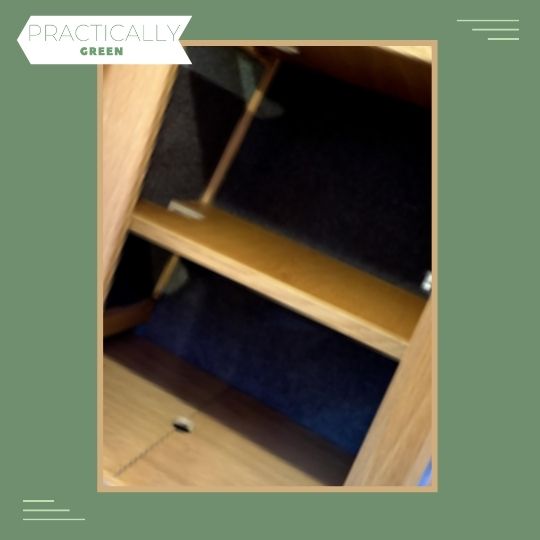
Here you can see the cupboard – we removed the door for easier access – and the holes in the top two shelves.
The bottom shelf is split into two pieces so the hole in the middle is to lift each side out, to be able to use the large storage below, which is very important space on a narrowboat.
Nick decided – I defer to his greater knowledge on this sort of thing – that we should start from the top and work down. So the first job was to remove the cover on the old vent, a voyage of discovery – pardon the pun! Me, being the sensible one, suggested that we needed to coordinate the removal with fine weather as we were likely to have a hole in the roof with only a temporary cover for possibly a week.
So the plan was drawn up:
● Remove the old cover.
● Measure the hole and order the correct-sized mushroom vent.
● Prepare the roof prior to fitting the new vent.
● Measure and plan for fitting fan housing inside the cupboard.
● Fit a new mushroom vent on the roof.
Now, all we needed was a week with a dry weather forecast, not that usual for April in the UK BUT we struck luckily!
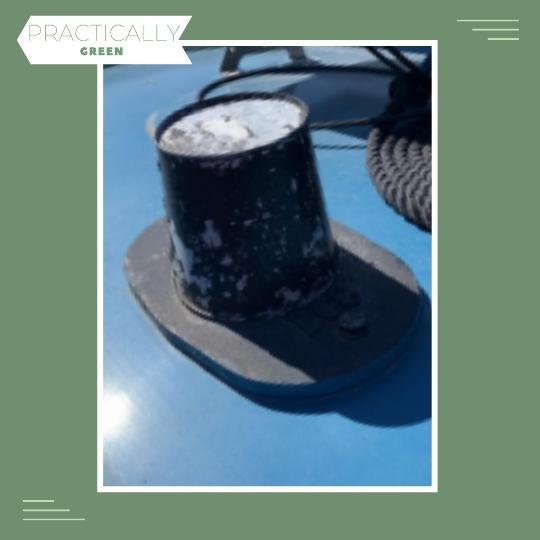
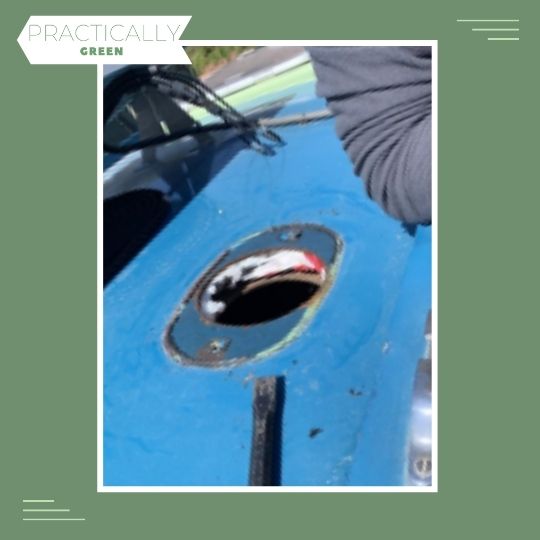
This is the old cover in situ:

First, we removed the plastic cover inside the cupboard to check there were no fixings. What we thought to be a simple plastic cover turned out to be a plastic base that you stand flowerpots in! We could see plastic around the inside but there were no other fixings holding the cover in place so Nick was happy to tackle it from above now.
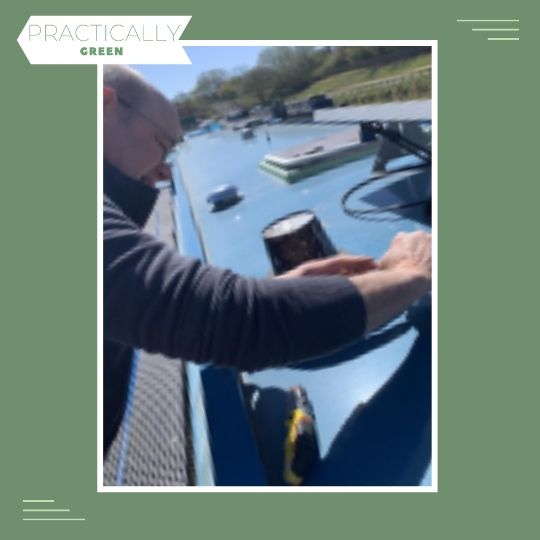
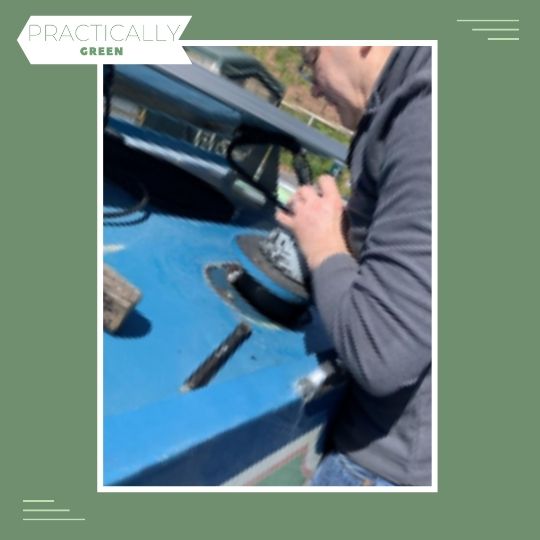
To remove the outside cover Nick first had to break the seal where it was fixed to the boat as well as unbolt it.
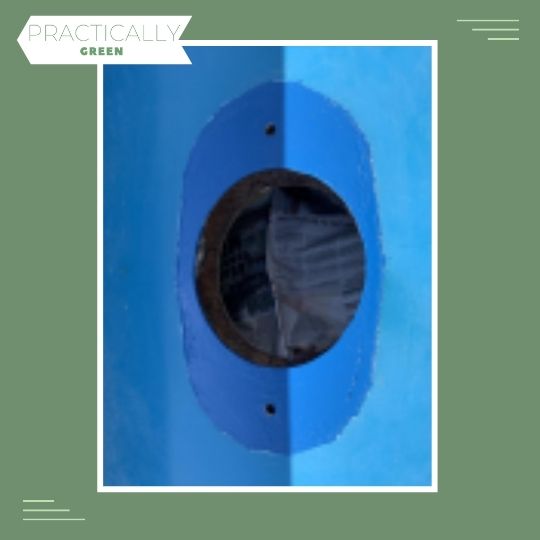
And then we had the big reveal……………….
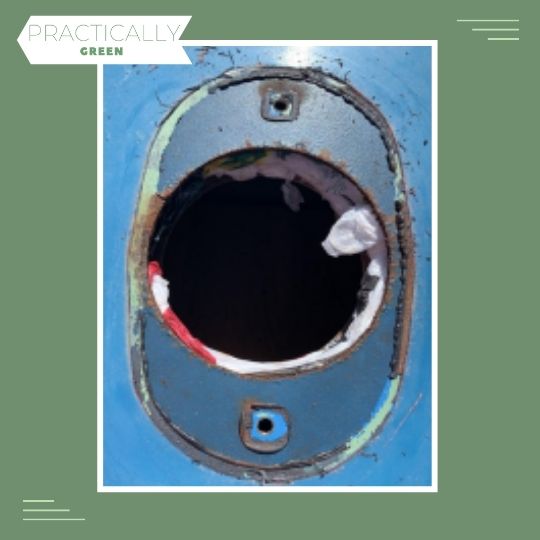
Well, not exactly what we expected to find in our roof, as for some bizarre reason plastic carrier bags had been used as insulation to fill the void!
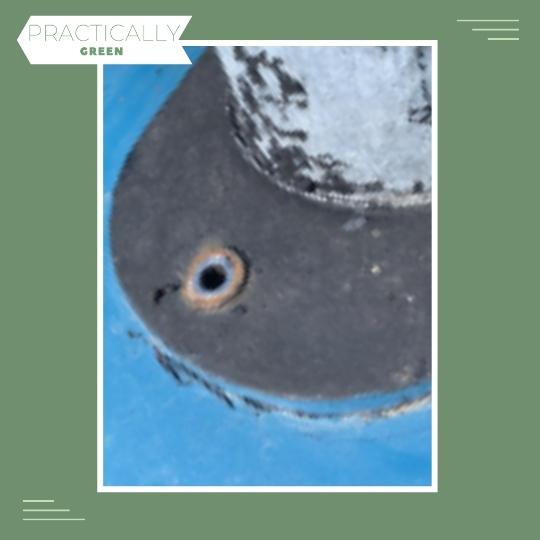
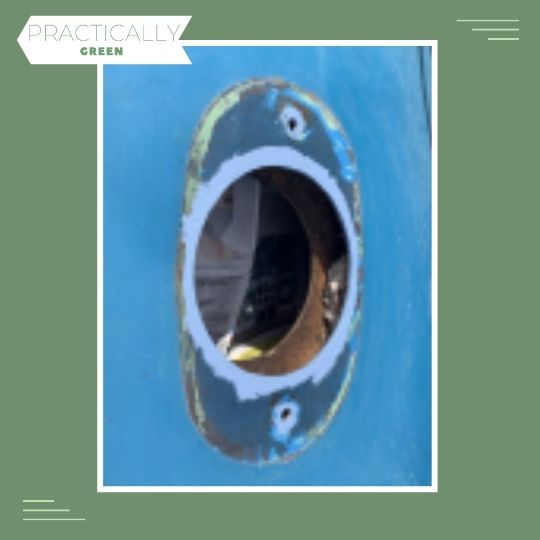
Due to the size of the hole revealed, we decided it would be best to reuse the black base plate and fix the mushroom vent – which I quickly ordered – on top of this with screws. We needed to clean the area on the roof, treat around the hole for rust, and then apply two coats of paint.
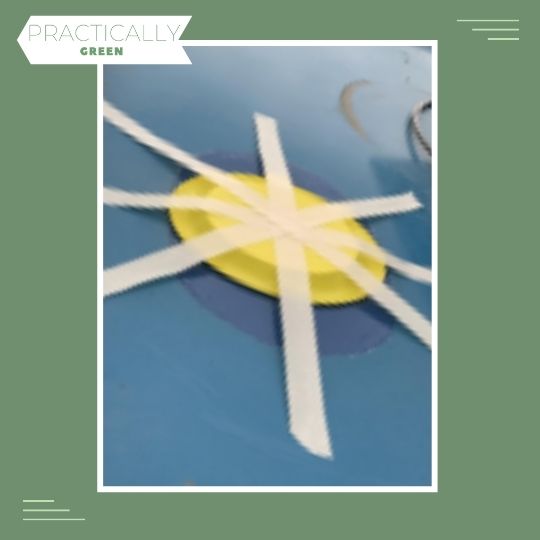
In between the coats of paint we needed to cover the hole, not because of the weather but to stop any accidents from the very friendly ducks in the marina who like to waddle up and down our roof. I quickly came up with the perfect cover, an upside-down yellow plastic plate, taped down!
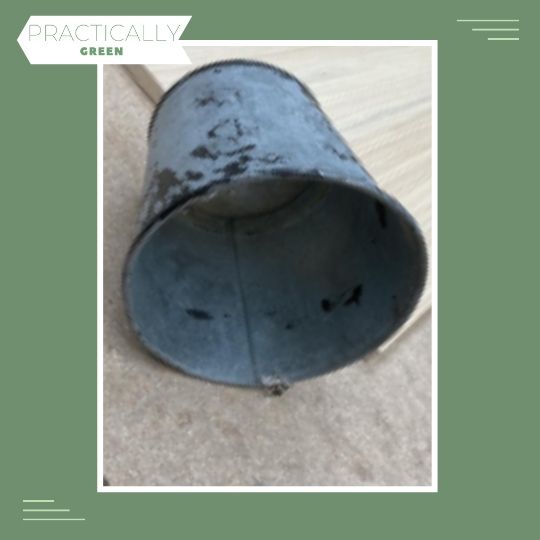
The base plate also needed preparing with rust treatment and repainting once the top had been removed. Imagine Nick’s surprise when he removed the metal top from the baseplate to discover it was actually a small tin bucket that had been fixed upside-down!

Nick cleaned up, treated, and painted the base and then drilled holes ready for the mushroom vent to be secured on top.


Suddenly the weather was due to change and as the sky grew dark we were racing against time to get it all fitted. The first job was to put some proper insulation in the roof space.

Then we fitted the base plate, sealing and securing it to the roof. 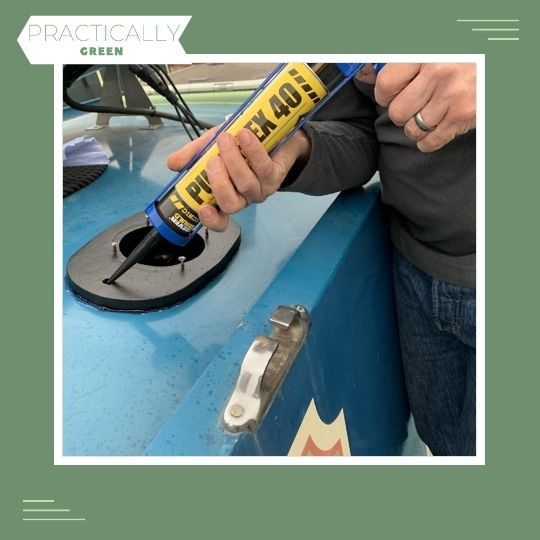
Just as the first drops of rain were starting we finished fitting the mushroom on top! 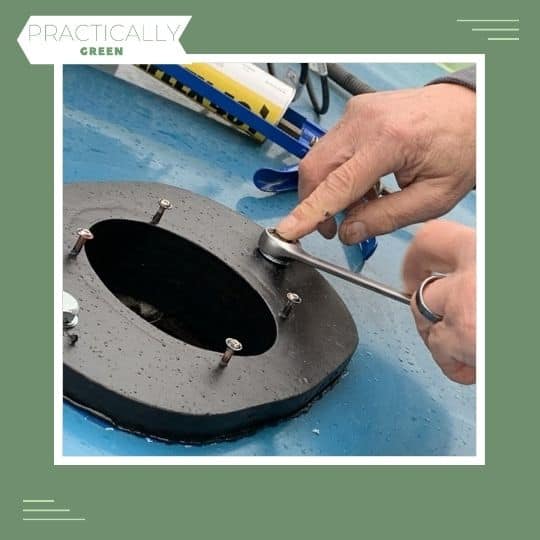

And you can even see the raindrops on the roof!!
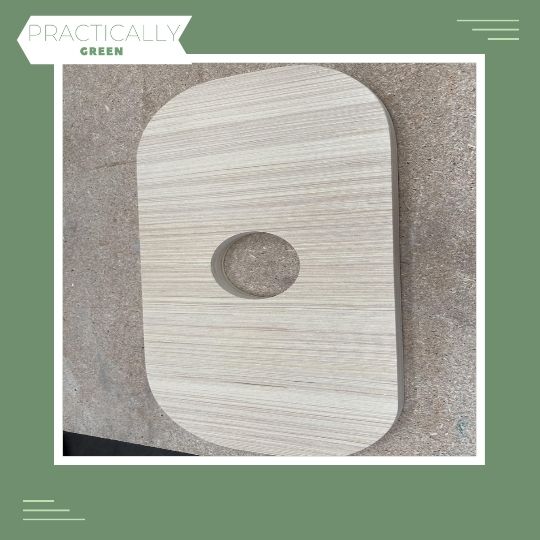
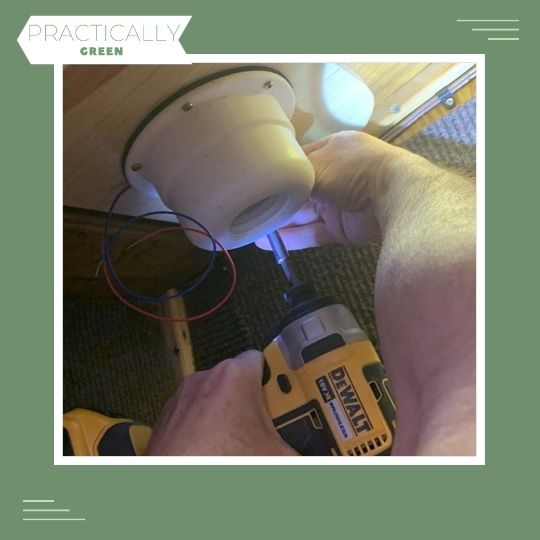
Well, that was very close, but no time for resting as we needed to resolve inside the cupboard. Nick made a wooden base to fix the fan housing onto but then we needed to purchase a reducer for the other side of the base, up to the mushroom vent to prevent any odours from escaping before they got to the outside.
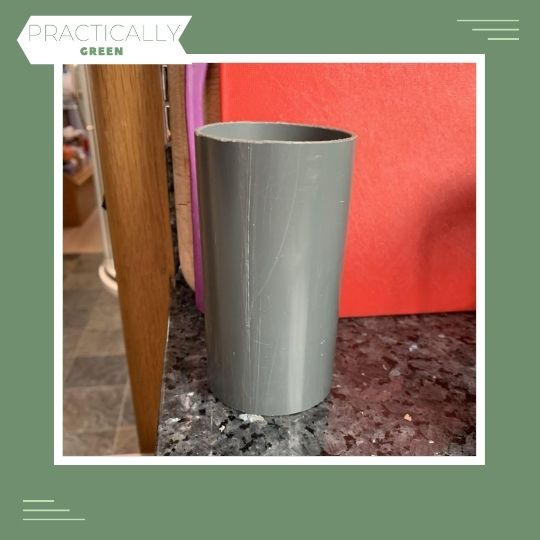
Finally, the piece of pipe arrived, long story but at least one courier company could locate our address! Such a small piece as you can see but perfect to fit on the underside of the wooden base.
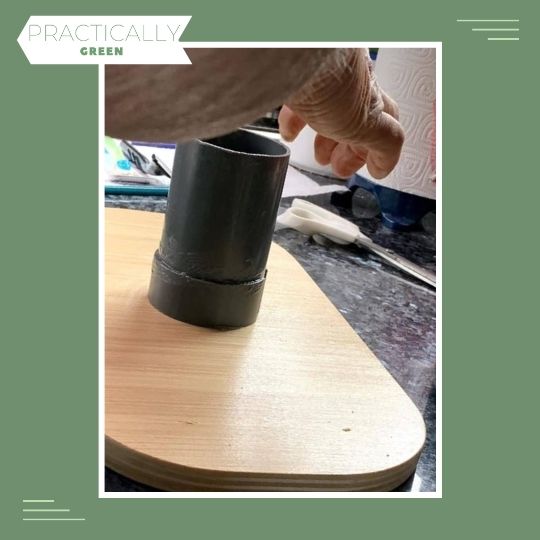
Once fixed in place Nick prepared the wooden base ready to receive the fan housing.
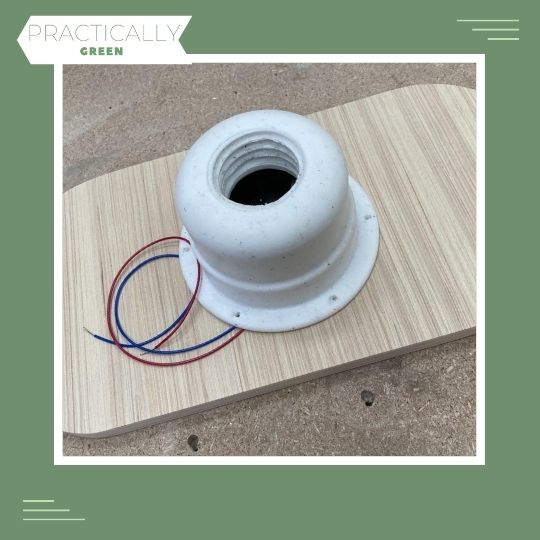
Excuse the background fruit, but there is nowhere else to work on the boat other than the kitchen counter!
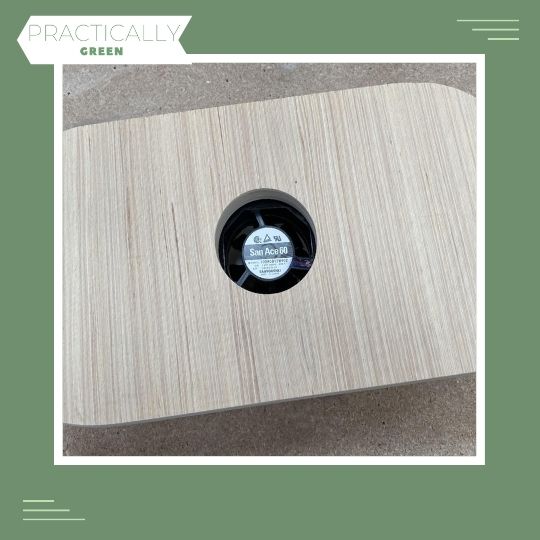
Now the challenge was to fit the base into the cupboard, not the biggest of places and awkward to get arms, hands, and screwdriver into.
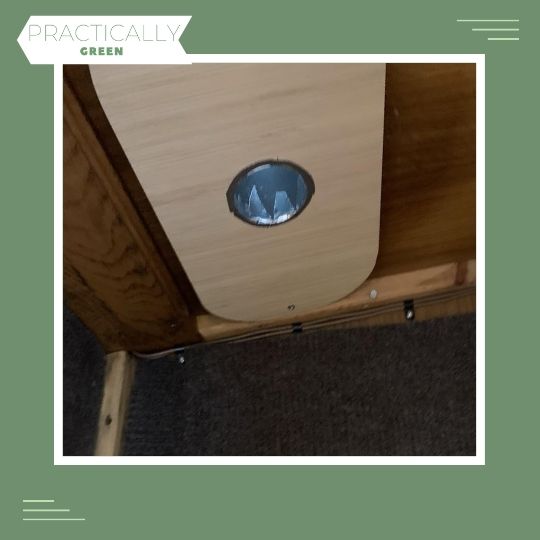 YES, he did it!
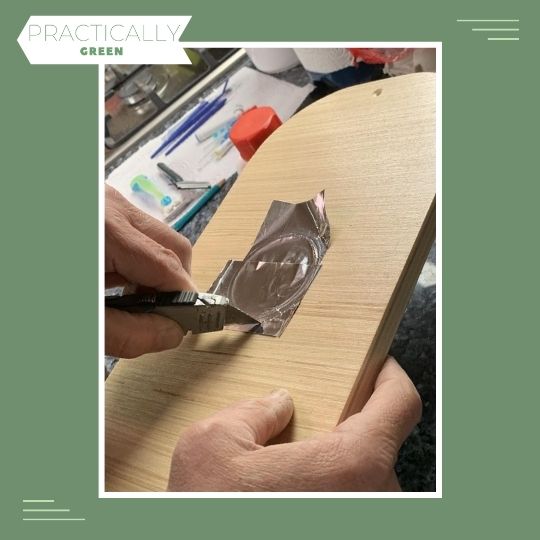
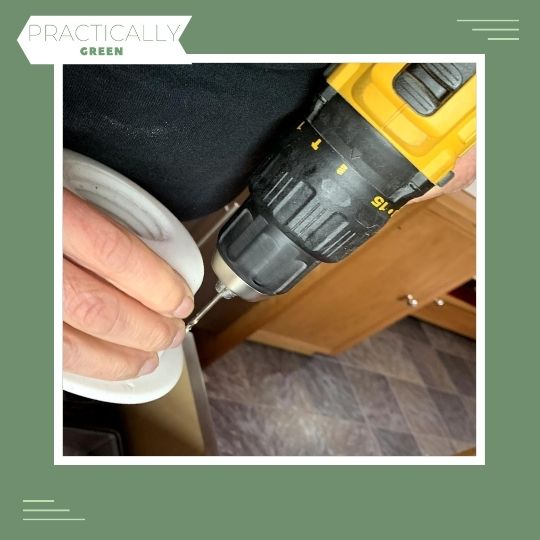
Nick prepared the fan housing by gently drilling through the holes to make sure they were ready to receive the screws. This made the job of fixing it to the wooden base within the cupboard that much easier even if it was still awkward!
So now we just had to make a hole in the bottom shelf for the hose – if you remember that was the only shelf without a hole – and then the hose could be attached to the fan and threaded through!
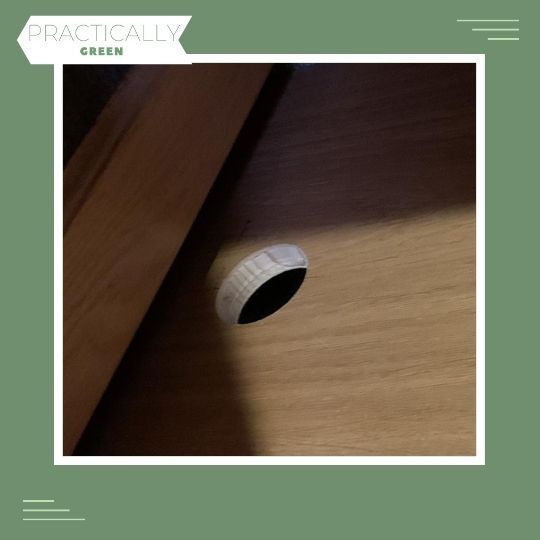 Hole created and ready for the hose!
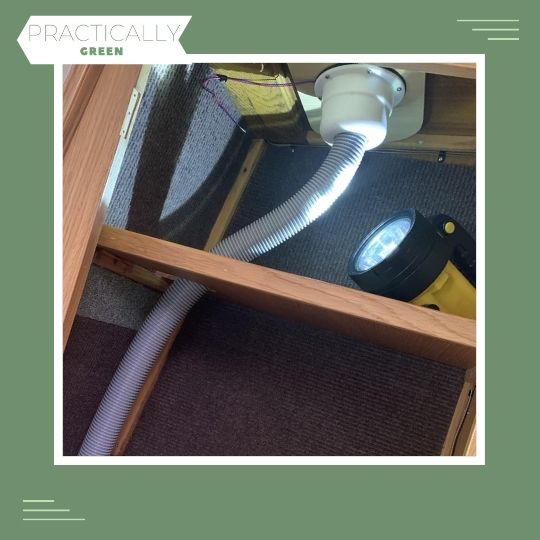
We carefully threaded the hose through the shelf holes and then firmly screwed the hose into the fan housing. The instructions had suggested you attach the hose to the fan housing BEFORE fitting the housing but due to our confined space, we had to do it afterward.
We decided we couldn’t make the hole through the front of the cupboard where the hose would enter from the back of the toilet until toilet fitting day. To see where we put the hole and how the toilet fitting went, you will have to come back and read the next blog!
So close and yet so far away!!